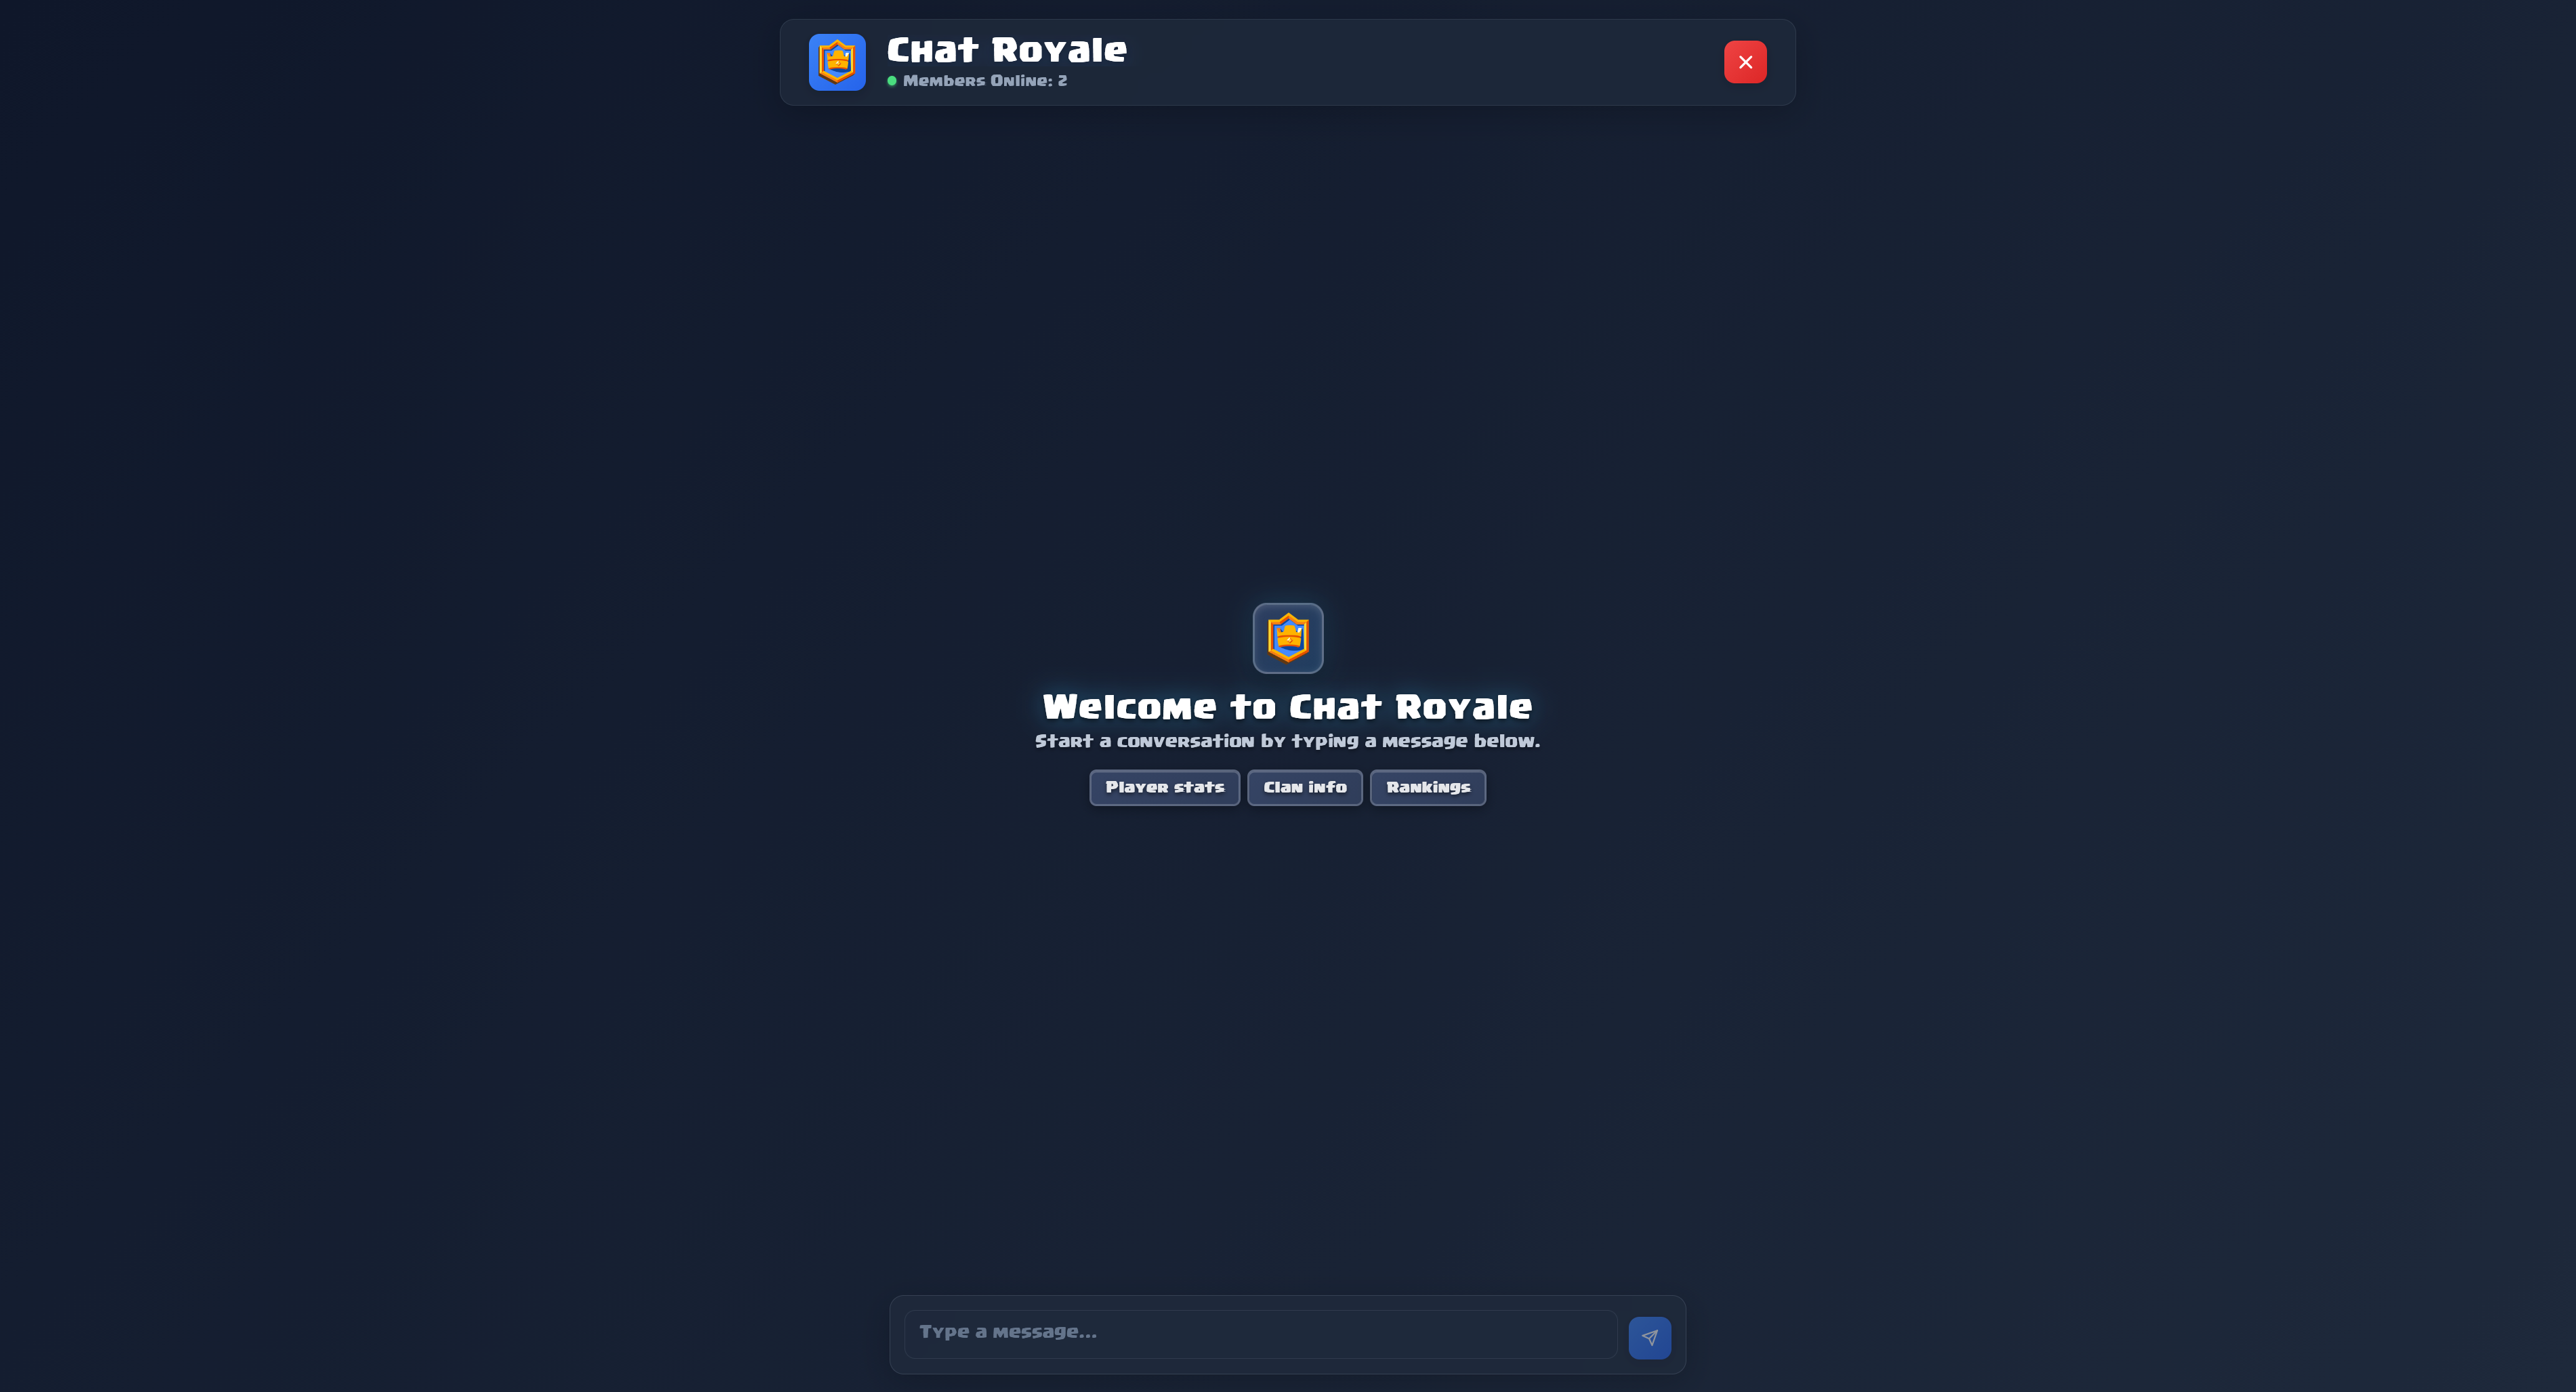
Chat Royale is a platform that allows users to view data from the Clash Royale servers using natural language queries, powered by a custom built Clash Royale MCP Server.
It allows users to ask questions about things like player stats, clan stats, rankings, and more.
Overview and Motivation
I started exploring MCP technology around when Anthropic first released it, so it was quite a new technology at the time. Somewhere I read that one use case for MCP was to kind of wrap API endpoints and allow LLMs to use those endpoints and actually “do” things and access stuff outside of its little bubble. I knew that a Clash Royale API existed and I thought it would be pretty cool (and funny) to learn how MCP works by building mine around Clash Royale.
Initially the goal with this was to just learn how MCP works, but I eventually decided to build it out into a full end-to-end website to showcase the technology, which is the final result you see today!
Technical Architecture
The project consists of 3 services running in their own containers. All 3 of the containers are orchestrated using a docker compose file. The 3 services consist of the MCP server, the backend API (which includes the MCP client), and the frontend. I’ve made a simple drawing showing this off below.

So as you can probably tell, its a pretty simple architecture. Is having each service its own container overkill? Probably, yeah. This could easily be made as a monolith system with the MCP server running on the same machine as the API and frontend, and communicating via stdio. I primarily chose to go with this approach more to learn how to develop and deploy with Docker rather than as a technical design choice. It did come with some interesting challenges along the way, which helped me learn a lot about how to build with containers.
Built With
- MCP Server: Python, FastMCP (MCP SDK)
- Backend API: Node.js, Typescript, Express, Gemini SDK, MCP SDK
- Frontend: React, Vite, Typescript, TailwindCSS
- Infrastructure: Docker, Docker Compose, AWS Lightsail, Caddy, Cloudflare DNS
Building the MCP Server
So I’m not gonna sugarcoat it, building the MCP server was not too difficult. The documentation was straightforward to follow and creating tools is as simple as adding a decorator on top of a function and writing what you want the tool to do.
The hardest part of writing a tool is the prompt engineering aspect. That is, writing the function name and especially description in a way that the LLM can easily understand when and how to use the tool. The description needs to explain what the tool is for, clearly explain what each parameter is, and also any other context it needs to know. Here’s an example of a tool I wrote to get player stats.

Some tools within the Clash Royale MCP server actually require the output of other tools. For example, to get the top players on Path of Legends* within Canada, the LLM would first look at the description for the get_location_path_of_legends_player_rankings tool and read that it needs to get the location id from the get_locations tool. It would then get the location id for Canada by executing the respective tool, and use the relevant part of the output to provide the correct parameters to the path of legends tool. This flow is detailed below.

This is what I ended up calling “tool-chaining” when developing. I’m not actually sure what the proper terminology is, but I think it suits it well.
You can actually extend this example even further if you wanted to. Let’s say you wanted to get the stats of the top player on Path of Legends in Canada. Then the LLM would have to first go to the path of legends locations tool, reason that it has to get the location id for Canada using a different tool, execute the path of legends tool, then finally find the tool for player stats and grab that. I think this really demonstrates the power of tool-chaining and what it can enable LLMs to do.
*For non Clash Royale Players, Path of Legends is a Ranked mode
Containerizing The MCP Server
Testing the MCP server was a bit of a problem. Since I was developing in Python with virtual environments, when I ran the server locally, it worked as expected. However, when attempting to add the server to Claude Desktop (at the time this was one of the only apps that supported MCP), the app would try and spin up the server but would fail because the dependencies were not installed locally. Now, I didn’t want to install all the dependencies globally, but I also couldn’t get it to run the server within a venv (which makes sense since venv should be used for development).
To solve this problem, I looked at how the GitHub MCP server was built, since I could get that working on Claude Desktop. Turns out, all they did was run it in a container using Docker. I knew about containerization in theory, but had never actually used Docker. So, I containerized my server and it worked perfectly!

This is actually a perfect example of the problem Docker, or containerization I should say, solves. I quite literally had the classic “It works on my machine” problem, but instead of “machine” it was environment.
MCP Client and Transport Layers
This is the point at which I decided that I wanted to build a showcase for this MCP. Otherwise, really only devs and power users would take the initiative to install and connect their LLMs to my custom MCP, whereas I wanted to give a chance to the average person to be able to play around with this.
To give an LLM access to an MCP server, you need an MCP client. The MCP Client usually sits within the application (in this case, the backend) and deals with exposing available tools to the LLM, telling the server to execute the tool that the LLM chooses, and passing the tool result to the LLM. Essentially, the MCP client orchestrates the LLM <-> MCP server interactions. This is also where you can implement more complex behavior like tool-chaining.
The most difficult part about building the MCP client was getting it to actually connect with the MCP server. The documentation only had examples that connected the two using stdio, but that was not possible for me since I was running each in a different container. I could run them in the same container, but that kind of defeats some of the purpose of containerization. Eventually, I discovered that MCP supported a streamable HTTP transport layer. The problem was, there was little information in the docs on how to implement this, and no videos or forums because MCP had just added support for it when I found out.
I had to go into the MCP source code and figure out how they implemented this transport layer and how they expected the developer to use it. This proved to be a very rewarding experience, as I not only figured out how to get it working but also learned a lot in general about how streaming works and the different methods to do it (SSE, WebSockets, etc.). The picture below provides a nice overview of how the client-server transport layer works at a high level.

(This picture may have been stolen from the MCP documentation)
API + Frontend Development
This part of the project was not bad. The API is nothing complicated, just a /chat and /health-check endpoint. For session management, I wanted a way to maintain conversation context for users, but I didn’t want to implement any kind of authentication since that was out of scope for this project. I ended up implementing a stateless approach by creating session IDs using a hash of the user’s IP address and User-Agent string. This allowed the API to keep conversation histories for different users without any sort of login. Each session expired 24 hours after the last message. This works for an MVP but 100% is not a long term solution if I was to scale this.
The frontend was arguably even simpler. I wanted to make it Clash Royale themed while also having a clean look. Since the core design of a chatting platform is nothing groundbreaking, creating and putting all the components together was relatively straightforward. I used React with Vite to achieve this look.
Eventually, when trying to get the frontend and API to work together, I ran into the classic CORS problem. CORS stands for Cross-Origin Resource Sharing and it’s a browser security feature that controls how web pages from one origin can access resources from another. Basically, if a web page makes a request to a different origin, it can be blocked by the browser. In my case during development, I had the frontend running on localhost:3000 and the backend running on localhost:3001. Because the origin is different, requests were blocked by the browser. It’s a similar case when running in production.
The solution is straightforward: define which origins to allow in your backend. I had never heard of CORS before this, so figuring out why my requests kept getting blocked was a huge headache. It was a great learning experience though. I learned to monitor the network tab in the browser dev tools, inspect the backend responses, and debug why requests were failing. Once I kept seeing CORS errors in the network tab, I searched for it on YouTube, watched Fireship’s “CORS in 100 seconds” video, and found the solution I needed.

Deployment & DevOps
For deployment, I specifically wanted to take a custom approach rather than use existing solutions, just to learn. The first thing I had to do was create a production Docker Compose file. This would set up things like environment variables, production URLs, and overall optimization for production builds.
Next, I decided to use AWS Lightsail for my production server. I chose Lightsail over something like EC2 primarily because it’s a lot simpler to set up and use. The pricing is more predictable, the interface is much simpler, and I get to avoid a lot of manual configuration I’d have to do with EC2. All I had to do was SSH into my VPS, pull my production build and run it.
After that, I got a domain from Cloudflare. Cloudflare makes things easy because it handles the DNS (Domain Name Service) and a bunch of other things for you, so all I had to do was buy the domain, give it the IP address of my server, and it configured everything.
Finally, I had to set up HTTPS on my server. I used Caddy to set this up since it makes it incredibly easy. Caddy acts as a reverse proxy for your backend server. When the client makes a request to the backend, Caddy handles certificates and encryption, then forwards the HTTP request to the backend. To set it up, I created a Caddyfile with the domain configured and it handled the rest.
I also set up a simple CI/CD pipeline using GitHub Actions. Currently, it SSHs into the production server, pulls the code, and builds everything directly on the server, which is not exactly best practice. The plan is to build Docker images in the CI pipeline, push them to a registry, and have the server pull pre-built images instead. I’ll also incorporate Docker secrets for handling environment variables as well.
Here’s a diagram of the final production infrastructure!

What’s Next
I’m pretty satisfied with the state the project is in. I think it makes for a good MVP that showcases the power of MCP with a game that everyone is familiar with.
I think this can definitely be made more useful though. Being able to ask it anything you would use RoyaleAPI for would be the ideal scenario, but that’s easier said than done. RoyaleAPI does more than just display the info the Clash Royale API provides, it actively does some data crunching and other things behind the scenes before presenting it to the user. I’d likely have to replicate that to a certain degree. While interesting, its out of scope of this project.
Something else that could be done is give it more context on the game. In its current state, the LLM is still general and only gets context about the game from the tool results. For example, if you asked it a question like “Does a level 13 Fireball kill a level 11 Witch?”, it wouldn’t know. To implement this, I’d probably create a SQLite database with a ton of data on Clash Royale, and have multiple tools that allow the LLM to access the data. This is something that I’m considering implementing sometime in the future, alongside some other ideas to make this agent more useful.
That being said, I learned a ton from building Chat Royale and I hope you learned a thing or two by reading this! I plan to continue doing these kind of write-ups for any future projects that I build, so feel free to follow or connect with me on LinkedIn where I’ll be posting these. If you found it interesting, have any questions, or just wanna chat about the project, don’t hesitate to reach out!
And remember… his time will come…
